A little over a year ago, my friends at Crimson Guitar gave me this parts tray in a guitar body shape.

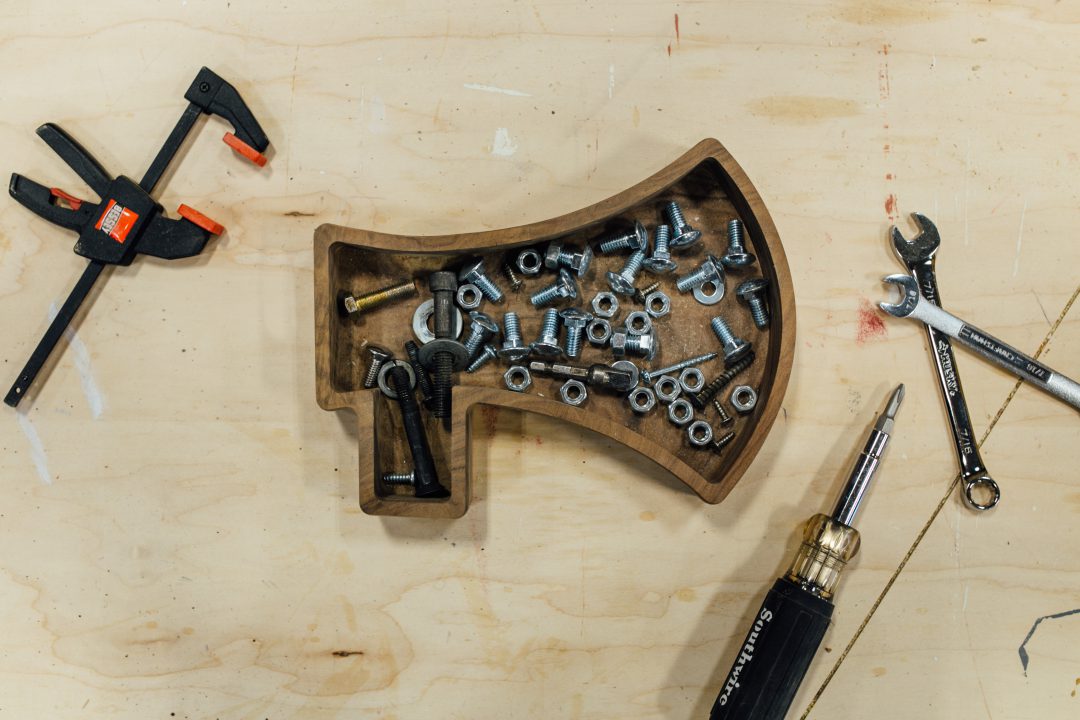
It is crazy how often I utilize this parts tray. And it got me thinking that I would love to create some in different shapes. So in this video, I’m going to show you how I build these custom parts trays. I did a few different shapes and my favorite were an axe, a chicken and a Texas.
Things I Used in This Project:
- Armor Tool Workbench: http://bit.ly/2JL03ix
- ISOtunes Bluetooth Hearing Protection: http://amzn.to/2pEjNtv
- Laguna CNC: https://youtu.be/bBSJdMw8VeE
- Miter Saw Stand: http://bit.ly/2XKAo0J
- Triton Router: http://amzn.to/2zRSdvF
- Respirator: https://amzn.to/33RyqeC
- Infinity Flush Trim Bit: http://bit.ly/31ZyWVF
- Bessey Quick Clamps: https://amzn.to/2YZ0Dxk
- AW Hat: http://bit.ly/2JBYowH
- Drill Press Stand: http://bit.ly/2AUGKxj
- Carpet Tape: https://amzn.to/2P8QyYx
- Armor Tool Bench Dog Clamps: http://bit.ly/2Xew2e0
- Walnut Push Stick: http://bit.ly/2Pfd7jX
- Triton Spindle Sander: http://amzn.to/2jBX0NW
- Triton Belt Sander: https://amzn.to/2HCQgu7
- Triton Palm ROS: https://amzn.to/2Jgeven
Click here to order your own Parts Tray!

The first thing I did was to use my CNC to cut out a template. This way I can use a flush trim bit in my router to cut out the shape.

I’m secured the template to this wood so I could use the router to hog out the material. I went through and made a perimeter cut, and then go back to the center and hog out the material.
One great thing about this router is that it has a fixed or plunge base option. I can start with the bit just above the wood, and then slowly plunge it in to whatever depth I need. With every pass, I’ll plunge down a little bit deeper until I get the overall depth I want.


This router method ended up taking longer than I thought. So I decided to move to the drill press and take out the bulk of the material there with a forstner bit.

Now that I’m in the middle of this, I’m realizing that there is an even better method to this. Instead of starting with the interior cut I’m going to start with the profile cut. When I started with the interior, I didnt have a great way to attach the template to then cut the profile. Let’s switch it up and see if that works better.
I started off by attaching the template with double sided tape. Pro tip: dont buy actual double sided tape. Buy carpet tape. It’s double sided but much less expensive.

Once I reached the end of my bit, so I took off the top layer template and then repeated the process, cutting down further.

On this piece of maple I had a few mistakes.

So I switched over to another board. I use this template to do the profile…

… and then I switch over to this template to carve out the pocket on the inside.

Now, to trim the waste material away, you can do a few different things. I trimmed mine up at the bandsaw and then ran the bottom over the jointer to remove that additional 1/8th inch bottom layer. However, after trimming it up at the bandsaw, you could also use a flush trim bit to remove the waste as well.


I have a CNC, so I could have easily made these there. But I really wanted to build some by hand so I could show you how to build a custom parts tray yourself. Even though some of these are much less perfect than a CNC cut, I really love the character they have and I enjoyed the process.
If you’d like these parts trays, I do have these three shapes available HERE.

Hopefully you guys found this one useful. I’ll see you on whatever I’m building next.
If you haven’t already, don’t forget to sign up at the top of this page for my newsletter so you don’t miss new projects!
The post Custom Parts Trays | How To Make appeared first on Wilker Do's.
from Wilker Do's https://ift.tt/2IBt5yz


No comments:
Post a Comment