It is with great disappointment that I’m announcing that I have to postpone my Grand Opening event for the Hill Country Wood Shed due to Covid-19.
The virus is increasing in an unsafe measure in Texas and I don’t feel comfortable or responsible having an event in this situation. Furthermore, the Texas Governor just announced that large gatherings are cancelled.
I cannot tell you how much I appreciate your coming and how much I was looking forward to celebrating with all of you that have followed along with my journey. Hopefully we can hold a celebration sometime in the future.
Thank you so very much for your support. Stay tuned…
This week I took the very first slab I ever milled up on my bandsaw mill and turned it into these two pieces of furniture. One is a little end table for my friend and videographer, Justin, and the other is a small bench for myself.
That’s a great thing about this project is one great length of slab can make multiple items. Or If you have a short spare piece that’s too beautiful or sentimental to throw away, then this is something easy but functional to use it for.
Let me show you the process.
I had traveled to Nashville to help my friend Greg Pennington with a porch project. And while I was loading down the vehicle with tools, I threw in a slab of mesquite since Greg mentioned he had never seen it before. I figured if he was going to be working on something after hours, I’ll pack myself a slab to work along with him. For me, I have been holding onto the very first slab to ever come off my giant bandsaw mill, which is a piece of pecan.
Now I already knew what I wanted to make with it, because since first going to Greg’s on my first chair making course, I fell in love with these cute live edge benches used all around his shop. I wanted one of those benches, so I started by first picking the section of slab to make my seat from and also Justin’s top from then cutting it to length.
Next was to plane the faces down. Justin’s went pretty typical where the majority of marks were removed on both faces.
However on mine, after removing most of the marks on one face Greg suggested we stop or it would make the board too thin. So in the center I have marks remaining but I don’t mind as it’s the first marks I ever made with my bandsaw mill. Then on the bottom it’s completely left rough.
Moving into the workshop area, I had my two pieces where I started laying out the leg position (three legs on Justin’s end table and four on my bench), Greg also was laying his four legs out on the piece of mesquite.
To give you a little back story, I went to Nashville to help Greg build a porch but the first day was nothing but rain, so we were keeping ourselves busy with this project. He went through the process to build a mesquite bench, and I followed along but with my Pecan.
First step is to drill the holes which is at a compound angle I used Greg’s very savvy but simple, two part laser set up to get these angles drill in correctly, and look at how hard this pecan is….there was so much heat and smoke! Makes for some pretty shots and I thought some really nice smells.
Once the holes were drilled, now I could perfect them to their actual size and correct taper with a remming tool. See the drill bit make a nice even and straight hole but the goal is to have the leg’s tenon fit snugly into this hole and the tenon on the leg has a small taper. This remming tool cuts in that taper on the seat, perfectly. You just need to have your legs to test fit or in this case, since Greg is a chair maker and has lots of spindles around, a sample spindle to test fit. As long as the tenon is correct, then that’s all you need. You’re looking for it to punch out through the bottom, or actually what will be the top.
Next we started working on cleaning up some of the edges and profiles. I decided to leave the live edge bark on mine. It will eventually fall off, but I’ll apply some epoxy to it when I get back to Texas to preserve it as long as possible. Greg scrapped his off.
So he had all four edges to refine and shape but I only had my two exposed ends and I just wanted something that would feel nicer than a sharp 90 when I sit down and put my hands on it. So I tackled it at first with a mallet and chisel and just tried knocking the top off.
It didn’t work all that well because pecan is so hard….so next I switched to a drawknife and created an easy chamfer on both the top and bottom. To do that, pick a dimension (I just eyeballed it) then use your finger as a fence against the edge of your wood and drag it along to make a mark on two perpendicular faces. Now you have a visual reference to use a drawknife or any other wood removing tool of your choice, to take that material away and come out with an even and nice looking bevel.
Now since I have bandsaw marks on the center of my slab, I moved to cleaning those up a little bit. The goal here wasn’t to take them away because I love them, but to soften the feel of them slightly as they were quite rough. I did this with a travisher. After it was all said and done, I think the marks blend in so nicely with the bark inclusions and natural knots in the slab. And I love the story they tell.
Ok leg turning time. Well not just legs, stretchers too.
For mine, I have four legs and three stretchers then for Justin’s he needs three legs and two two stretchers. I am not an experienced turner. I can do it, but I’m very slow and often my pieces come out looking like newborn baby chubby arms. But still, I of course wanted to tackle my parts but Greg volunteered to do Justin’s. It’s worth noting he got both his set, Justin’s set, and cleaned his entire shop, in the time it took me to make mine. But hey, it’s not a race, it’s about having fun making sawdust.
For my parts, Greg already had a lot of dried maple blanks so that’s what I pulled from. The reason you want to use something dried is so you can assemble it and it not move drastically in size on you. If you used something wet, then as it dried it would shrink and your joints would become lose.
I went for a simple shape, something called a cigar leg, while Greg got a little fancy for Justin’s and did what’s called a double bobin leg. Annnd he also made his from Cherry, which turned out looking stunning.
After test fitting the legs into place, we got out the log drill bit and started punching some holes. These holes will receive the stretchers and make a rock solid base once things are connected.
After the holes in the legs are punched then a hole needs to be drilled in the short or short(s) stretcher. This step always fascinates me. The hole needs to be drilled perfectly perpendicular to the stretcher and to achieve that chair makers use a mirror technique where they will set up a mirror to face them.
They will also have a 90 degree square in sight so that in the mirror as a person drilling, you can set the square where it can be used as an indicator on how straight your drill bit is. If this is where the square is, and this is your drill bit, and you start leaning one way or the other, you’ll be able to very easily tell that you’re tilting.
Alright, and now it was assembly time.
If you’re building a piece of furniture then hide glue is a great choice. It not only has a long open time but it’s also reversible should you ever need to replace a part or refinish the entire thing. It’s at this point where it starts coming together very quickly, one piece at a time.
Now don’t freak out if you flip it over and a leg isn’t touching the bench….the legs are left a little long at the start so that there is room to level them up after they are wedged into place.
For wedges you can go with just about any choice of wood but I wanted walnut so that they would contrast with my light body and base.
These also go in with hide glue, but if you ever wedge something then only apply glue to one face and not both. Then if you use a ball pin hammer, it won’t provide as much bounce back when you drive these home.
Ok now we can take care of that let that is higher than the others. There is a very simple tool that, holds a pencil, will reference the top of a workbench and can be set to any set amount. So once you figure out how much height needs to be removed from the bench to drop it to the height desired, then you can set this tool and mark all the legs so you know where to chop them off.
After making all four marks, I used a pull saw to slice and dice, which made my bench sit nice and flat.
Last thing to do while at Greg’s at least, was to move to the top and use a small flush trim saw to cut off the excess leg tenon and the wedges.
Ooh, I love it. I love the pecan coloring. I love the character these specific pieces have it in them. I love making something with my first slab. And I love the day full of so much relaxing fun building it with two close friends.
It’s always a special time in Greg’s shop because he has a magical place there. I’ve left you links down below to the other projects I’ve had the pleasure of building in Greg’s shop as well as his current class schedule if you’re interested in joining in on some of the fun.
As for their final homes, my bench lives in my living room and serves as a place for me to sit and put on my shoes.
Justin uses his as an end table on his balcony and he says it does a fabulous job at holding whiskey.
I hope you enjoyed this video and maybe even learned something. If you have a live edge piece of wood then I certainly recommend tackling this project. I know I plan to again in the future, I mean the sizes of these benches are just too perfect. I’ll see you on my next project.
It is officially summer time and I’m needing some outdoor chairs. It’s crazy how expensive Adirondack chairs are. So in this video, I am going to show you how you can make your own with a special feature!
What I really love about this design is that it has a folding feature to make it low profile when stowing it away during the winter time.
If you haven’t already, don’t forget to sign up at the top of this page for my newsletter so you don’t miss new projects!
(Most of the links listed above are affiliate links. As an Amazon Associate I earn from qualifying purchases. Thank you for supporting me in this way.)
Check out this dining room's wainscoting I installed with beadboard planks from Armstrong Ceilings, and watch the full how-to video to tackle this project yourself!
Amp Panel Provider CTA with promo Brand CTA Body CTA Box Non Amp Advertiser Disclosure Affiliate Disclosure x Today’s Homeowner works with an independent reviews team to create evidence-based research that helps our readers make informed decisions. The reviews are always independent. For transparency, we may be compensated if you purchase through a […]
In this project I am going to cover the process of painting a piece of furniture with Real Milk Paint. If you want to watch the process on how I built this chair then that video is linked for you HERE.
Now of course I’ll be showing how to use Real Milk Paint to go on raw wood, but this will also stick to drywall stone, and unsealed brick and concrete. If you have a piece that has latex paint already on it, then the steps will be the same except you need to start with a a coat of Ultra Bond. You won’t need to get it back to bare wood but you should remove any peeling up bits.
I was heading to Nashville to help my friend Greg Pennington build a large porch. He is actually the master chair maker who taught me how to build this chair. Hee is very experienced with using Real Milk Paint and offered to show me the process.
Let start off with product, I spent forever deciding on the color I wanted my chair because there are soooo many beautiful colors to pick from. However, I ended up going with Barn Red from the brand Real Milk Paint company.
Now in the chair making world, it’s traditional for chair makers to paint their chairs red first then black on top. This way, as spots naturally get wore down the red will slightly show through.
So I know painting it red and leaving it at that will causes traditionals to lower their brows but I’m happy with my decision.
Real Milk Paint comes in powder form which means it doesn’t have a shelf life. It won’t go bad. To mix up the powder into a paint, it takes a 1 to 1 ratio of powder and water. Meaning you take a scoop of powder and add the exact same amount of water. Every container comes with a marble so you can drop it into your mixing container (here we’re using a washed out yogurt container) then add a drop of the anti foaming agent….then just shake it up.
After getting it a good rattle, you need to let it sit for at least 15 mins. With Real Milk Paint, you can’t let it sit for too long, but you can let it sit for too little. So just make sure has a least 15 mins to sit and mix together before you start to use it.
While that’s setting up, I’m going to spend the time prepping my chair. Greg does this thing where he will tape off the underside of a chair so he has a spot to sign and date it. So I taped off a square then used a blade to cut some arches around each one of the legs.
By this time, it had been more than 15 mins so I went back to my paint and stirred the mixture by spinning that marble inside around in circles. You don’t need to go crazy, just a little bit, then it’s painting time.
When painting, there is nothing crazy about the step. The main thing to watch out for is drips because if you try to paint it too heavy on one coat, and over look where it runs then it will form dried up tear streaks. They can be removed but it’s more work and it’s simple to avoid if you do light coats instead.
I would dip my paint brush, then use the edge of the container to wipe off some of the excess. Then of course be watchful as I was moving around and applying paint, that no area was getting too heavy and running.
After getting everything on the bottom side of the chair, I then flipped it around and started painting the rest. While I’m doing that let me tell you a few features of Real Milk Paint that make them stand out. First, they have over 56 paint colors and focus on antique color palette, based on traditional furniture. It’s water based so it cleans up incredibly quick and easy. It’s non toxic and no VOCs so painting inside is just fine. It also dries very fast, in just about 30 mins.
It was morning when I applied my first coat of paint, then I let it sit all day while Greg and I worked on something else in his shop. Then that evening I quickly threw on another coat of paint, but I stopped at just two coats. It looked 100% covered so I moved on to buffing after that. Which isn’t that fun, but it’s necessary if you want a good looking finish.
I used some very fine steel wool and went over the entire chair to take it from the very flat and chalky texture to more of a sheen finish. Don’t be afraid of pushing too hard as it does take some pressure to get it where it needs to be.
It might be hard to distinguish here in the footage but look at this front edge of the seat vs the side and the top. The top still look chalky and darker, whereas that front edge I buffed is lighter and has a shinyness in it.
I stopped after buffing half the seat so you could hopefully see the difference better. The right is the shine you’re going for, and the left is still waiting for me to tackle.
Before moving on to the next step which is to apply a protective finish, I flipped the chair over and signed the bottom with my name and also the year I built it. : )
Ok now as I mentioned, it was time to apply a protective finish for me. However if you wanted a two tone paint color scheme like traditional chair makers do, then next you would apply the top color of your choice. But since I was sticking with the one, I moved on.
Milk Paint is very easy to apply but needs some sort of top coat to be durable. Greg has his own custom mixture of mineral spirits, linseed oil, and spar varnish so that’s what I used. However if you don’t want to create your own, Real Milk Paint company sells a few options of protection top coats you can order with your paint.
For my finish, I used a chip brush and just slopped it on. Not really slopped, but definitely went heavier on it than I did with the painting step. And that’s because you don’t have to worry about runs here. You just want to hit the entire surface so it can absorb the finish.
Then any excess will get wiped away with a clean rag afterwards. Take your time on the wiping down step to make sure you don’t miss any areas, or it will dry with a different sheen than the rest of the chair.
After going over the entire piece, let it dry for 24 hours before applying another coat. However, before you sit it and forget it…..after your first wipe down, check on it after 10 mins or so and see if you need to give it another wipe down. Sometimes the surface will slowly spit out more finish after you’ve wiped it, and this also needs to be removed. If you check on it, and it doesn’t look like it has done that, then you’re good to forget it until the 24 hours has expired.
So I put on two coats of paint then three coats of top coat. Since I had to wait 24 hours in between each coat, I would leave my chair out on the workbench then apply a new coat every morning before we got to work on Greg’s porch.
I would use the steel wool to quickly hit every surface of the chair, before applying another coat. This you don’t need to apply as much pressure as the buffing stage….you’re just removing any slightly raised particles that got into the finish and come through when you run your hand over it. It truly very simple, it takes less than 20 mins each coat.
I know a lot of woodworkers will automatically respond negatively when a piece of furniture is painted instead of stained or clear coated. But Greg is a master chair maker and paints most of his chairs with a red under coat and black top coat, as it’s the traditional Windsor chair style to do so. See a lot of chairs are made up of two or three different species of wood, each part of the chair focusing on utilizing a wood that suits it function or level of strength needed instead of making it all match. So if you’re about to leave me a comment (or probably already have) on how I shouldn’t have painted it in the first place….well there is simply nothing wrong with it.
If you’re watching this video because you hav a piece of furniture you want to refinish or finish, then I hope this has helped you out. I wish you luck on picking out a color because there are so many beautiful ones, that is really is the hardest part of the process. Everything else is very straight forward and easy, so don’t put it off if it’s on your todo list.
Be sure and watch the video to see the tutorial in much more detail!
If you haven’t already, don’t forget to sign up at the top of this page for my newsletter so you don’t miss new projects!
(Most of the links listed above are affiliate links. As an Amazon Associate I earn from qualifying purchases. Thank you for supporting me in this way.)
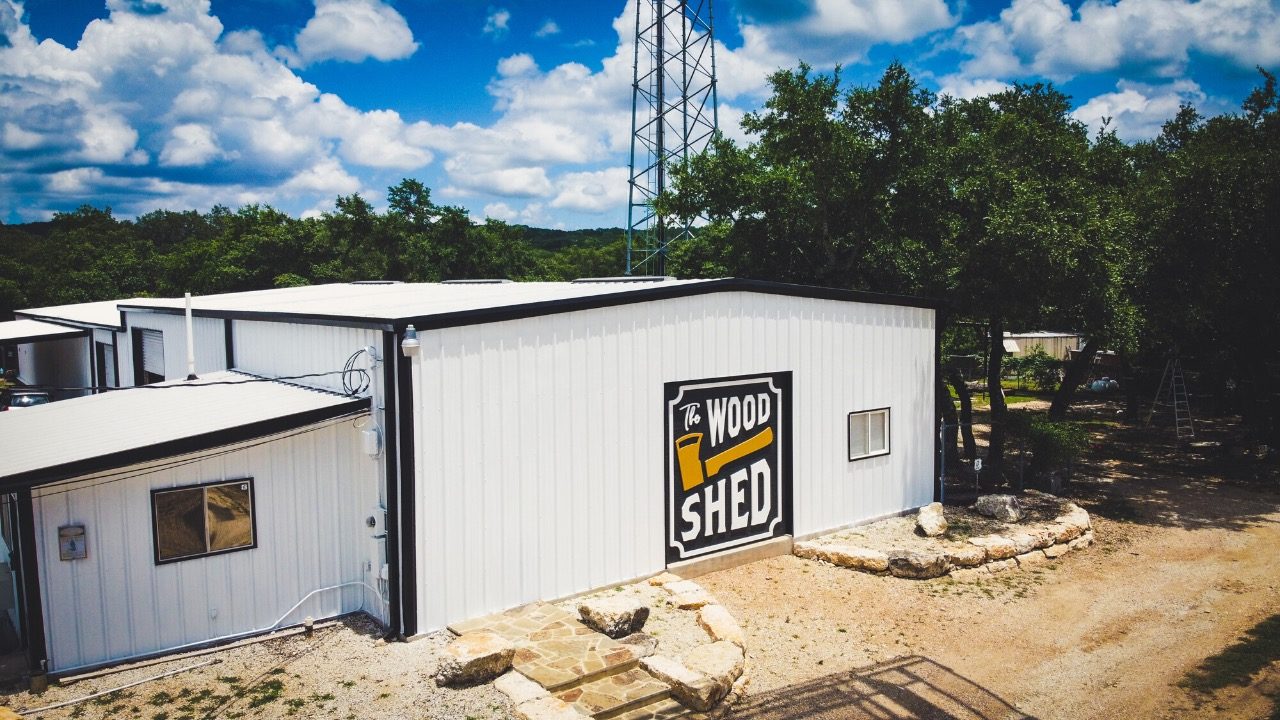
It’s time! Get your free ticket and mark your calendars for July 18th! Come join me in Canyon Lake, TX in a day of celebration for the big Grand Opening event of The Wood Shed.
We’ve been preparing the Wood Shed for many months and the time is finally near! Come help me celebrate the Grand Opening of the Hill Country Wood Shed, my new commercial and retail space. If you’d like to come hang out with me and see and celebrate this giant fun adventure, I’d love to have you here! We’ll have:
Giveaways from some of my favorite brands! (Titebond, ISOTunes, Armor Tool, Triton, PantoRouter, Kreg and more)
Food
Local Craft Brewery beers
Maker and content creator meet up
Music
Demos of the Logosol Mills, Shaper Origin, my giant Bandsaw Mill and the PantoRouter
Merch and products for sale
Special grand opening items that you can only get at the event
Shop tour
and more!
The location is in Canyon Lake, Tx. We’ll release the exact address as the date is closer. Please RSVP for a free ticket via the link below if you are going to make it. We need to know how much beer to buy!
This is a very fun summer destination in case you want to make a real summer trip of it! We’ve got a nice lake, amazing rivers that offer tube floating, live music, Gruene Hall (the oldest dance hall in Texas), great eating at The Gristmill River Restaurant nearby, a giant Waterpark (Schlitterbahn) and much more! Canyon Lake also sits just between Austin and San Antonio, which offers so many more things to enjoy.
Grab a ticket if you can make it! Hope to see you there!
This week was a ton of hard work. Sweat and tired muscles. But! No tears and no blood, which is saying something since we moved around 10,000 pounds of equipment.
It was so cool. Also nerve wracking. There were many times that I had my serious concentration face on. But now that it’s done, I can sit here and giggle at how powerful I felt at moving such big and heavy stuff.
Overall, there were 2 4×8′ CNC’s that were moved, a 4′ Plasma table, and my giant Matt Cremona Bandsaw Mill, which traveled in two parts (the bed and the carriage).
If you missed the announcement, I bought a commercial space that I’m turning into a retail space and production shop. And that is where all of this equipment is heading. Some of this was in storage and other items were in my personal shop.
I hope that you realize that if I can do these things, so can you! It really was a very short time ago that I didn’t know how to use tools, how to build things, how to run a business or how to make videos. I am self taught in all of these areas and there’s nothing different about me that makes me more capable of doing them over anyone else. I hope this inspires you to put effort into learning the things that gets you excited.
Tile backsplashes, countertops and shower walls are popular home improvements, but installations aren’t easy for do-it-yourselfers. For many DIYers, the simpler the project is, the better. And that’s a problem with thinset mortar, a tile adhesive. First, you have to spread mortar with the trowel’s flat side and then flip to its notched side to […]